
Racking your pod
You will need to prepare the pod before racking it into your cabinet.
First, remove the two slide rails from the packaging.
Next, remove the inner rail from the outer rail and clip it onto the side of the pod. Repeat for the other side.
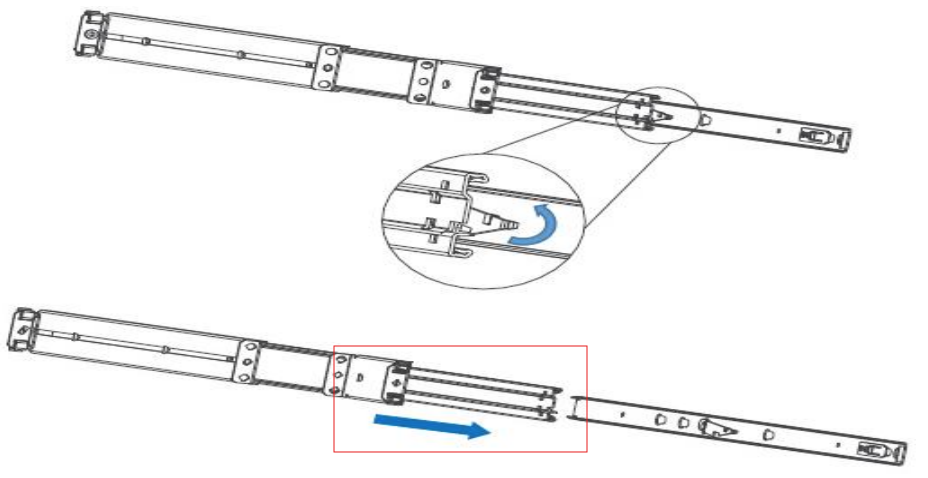

Loosen bolts on the outer rail to adjust the length to your server cabinet. Install both of the outer rails in your cabinet brackets ensuring the rail pulls out towards the front of the cabinet and secure the screws.
Screw the locking bolt into the front of the cabinet in the middle of the rail. Note the front of the rails (highlighted in red) before you mount the outer rails within the cabinet.

Align the inner rails on both sides of the pod with the outer rails in your cabinet. Slide the pod into the secured outer rails.
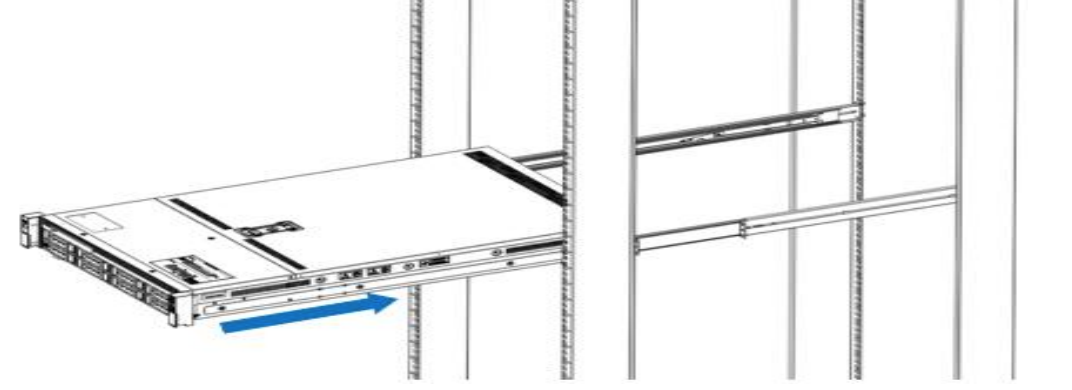
Push the pod in until it stops (about halfway). Then, push the inner rail's release catch down on one side and up on the other side of the pod to push it fully into the cabinet.

Pod Setup
Guide
Use the pod setup wizard to configure your pod.
Please note that a DHCP server is required on the LAN you wish to set the pod up from. The device you configure the pod from also needs to be on the same subnet or have access to that subnet (VPN).
Start by plugging your pod into a power source, connecting the 10Gbps RJ45 ports (multiple for redundancy) and connecting it to a screen if you have one available. Power the pod on when ready.
You will need to create the pod in the admin portal before you can proceed further. Log in to the Inevidesk admin portal and within the Pods menu item, navigate to your company view and start by clicking the “Setup New Pod” button.

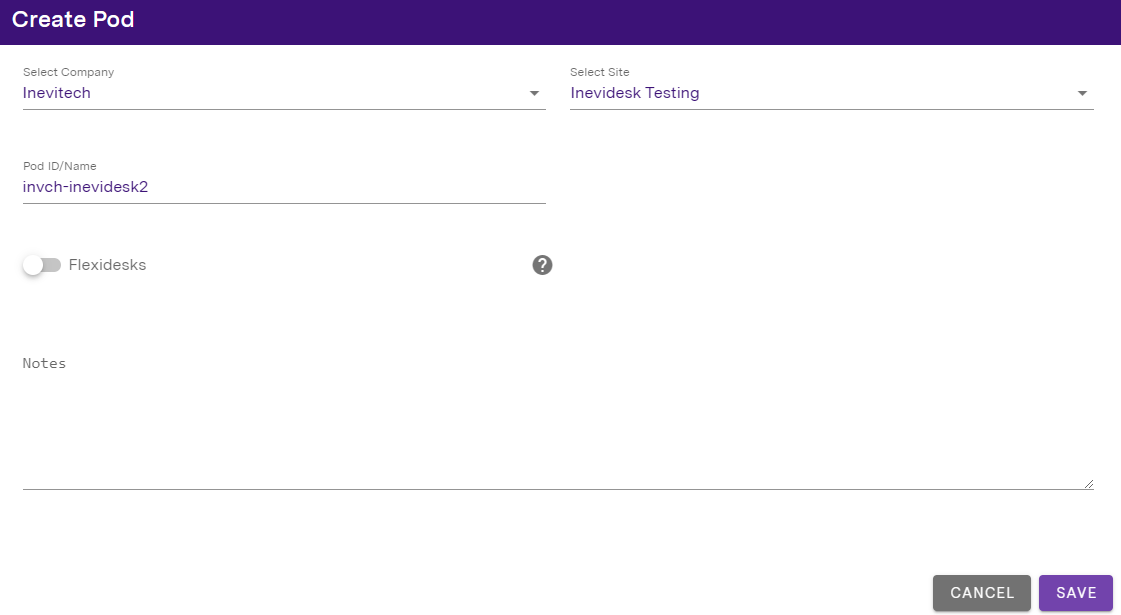
Fill in the required information in the “Create Pod” menu and click “Save” to create the pod.
The pod name will autofill by default but you can change to whatever you’d like - just make sure it ends with a number. Inevidesk requires this format in order to correctly configure the storage pool for the pod.
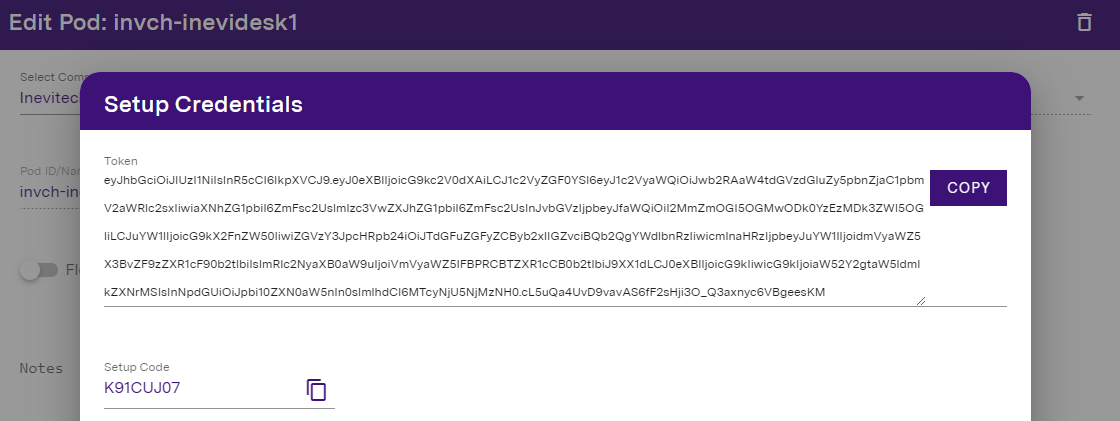
Once you’ve clicked “Save” and the “Setup Token” dialogue box pops up, note the setup code provided. You will need this for the Pod Setup wizard.

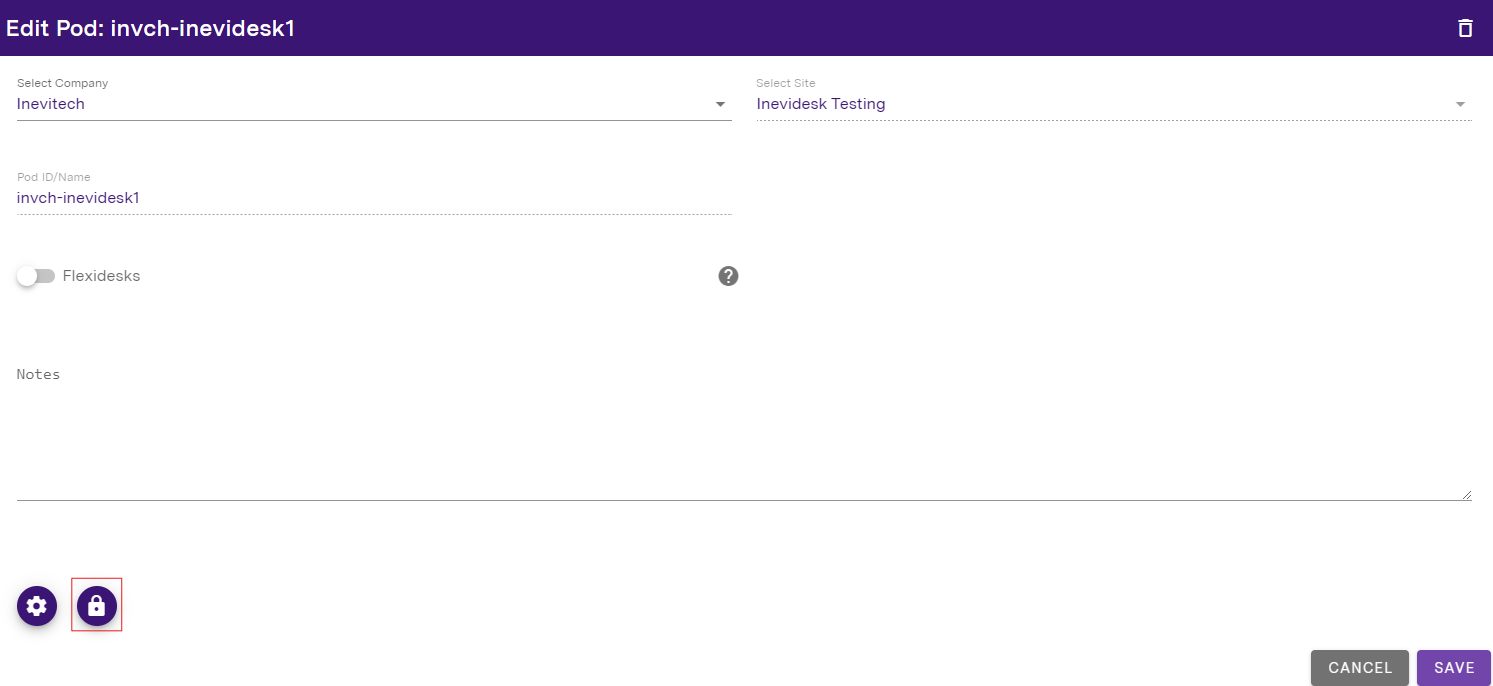
You can view your setup credentials by clicking the “Pod Details” icon on the far right in your pod management view.

Once in the “Edit Pod” menu, click the “View Setup Credentials” icon highlighted below to view your credentials:
Back to the pod, which should be powered on and displaying a setup screen. Open your web browser and connect to the address shown on the screen from a device on the same LAN as the pod. If you do not have a screen, please check your DHCP server to find the IP address of the pod and connect to that on https://ip.of.pod:3000 (NOTE: the configuration utility runs on port 3000).
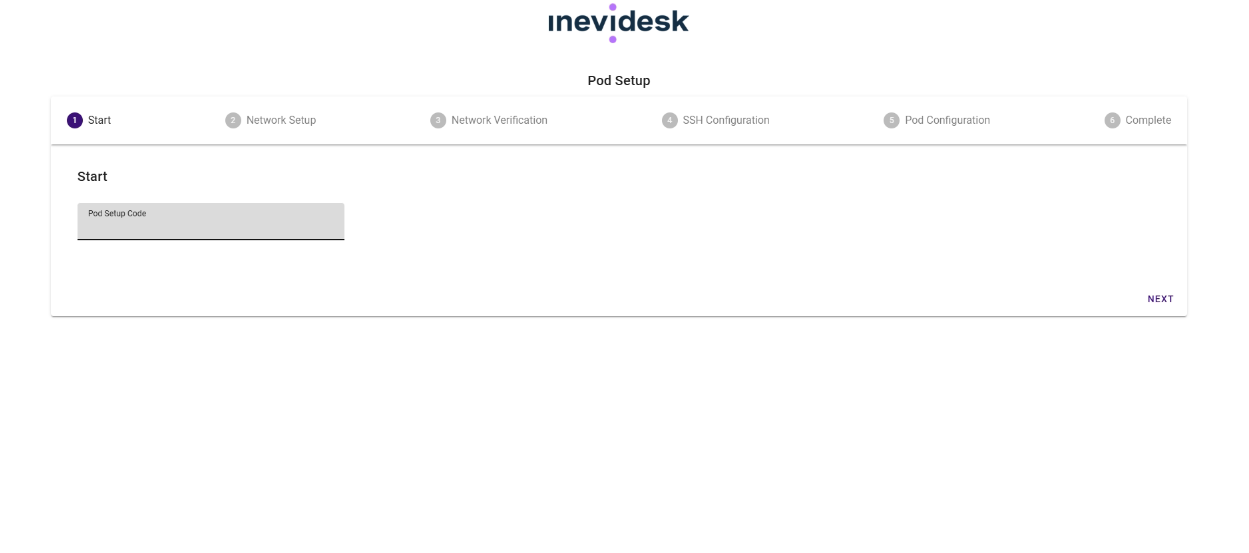
Once there, you should see the pod setup wizard. Paste the code you generated into the “Pod Setup Code” field and click “Next” to proceed.
Network Settings
Once the wizard proceeds to “Network Setup”, assign a static IP to the pod and check all relevant network settings are correct. Once done, click “Next” in the wizard to apply the network configuration and proceed to the next step. You can also configure the IPMI of the pod to have a static IP at this point. By default, it is set to DHCP.

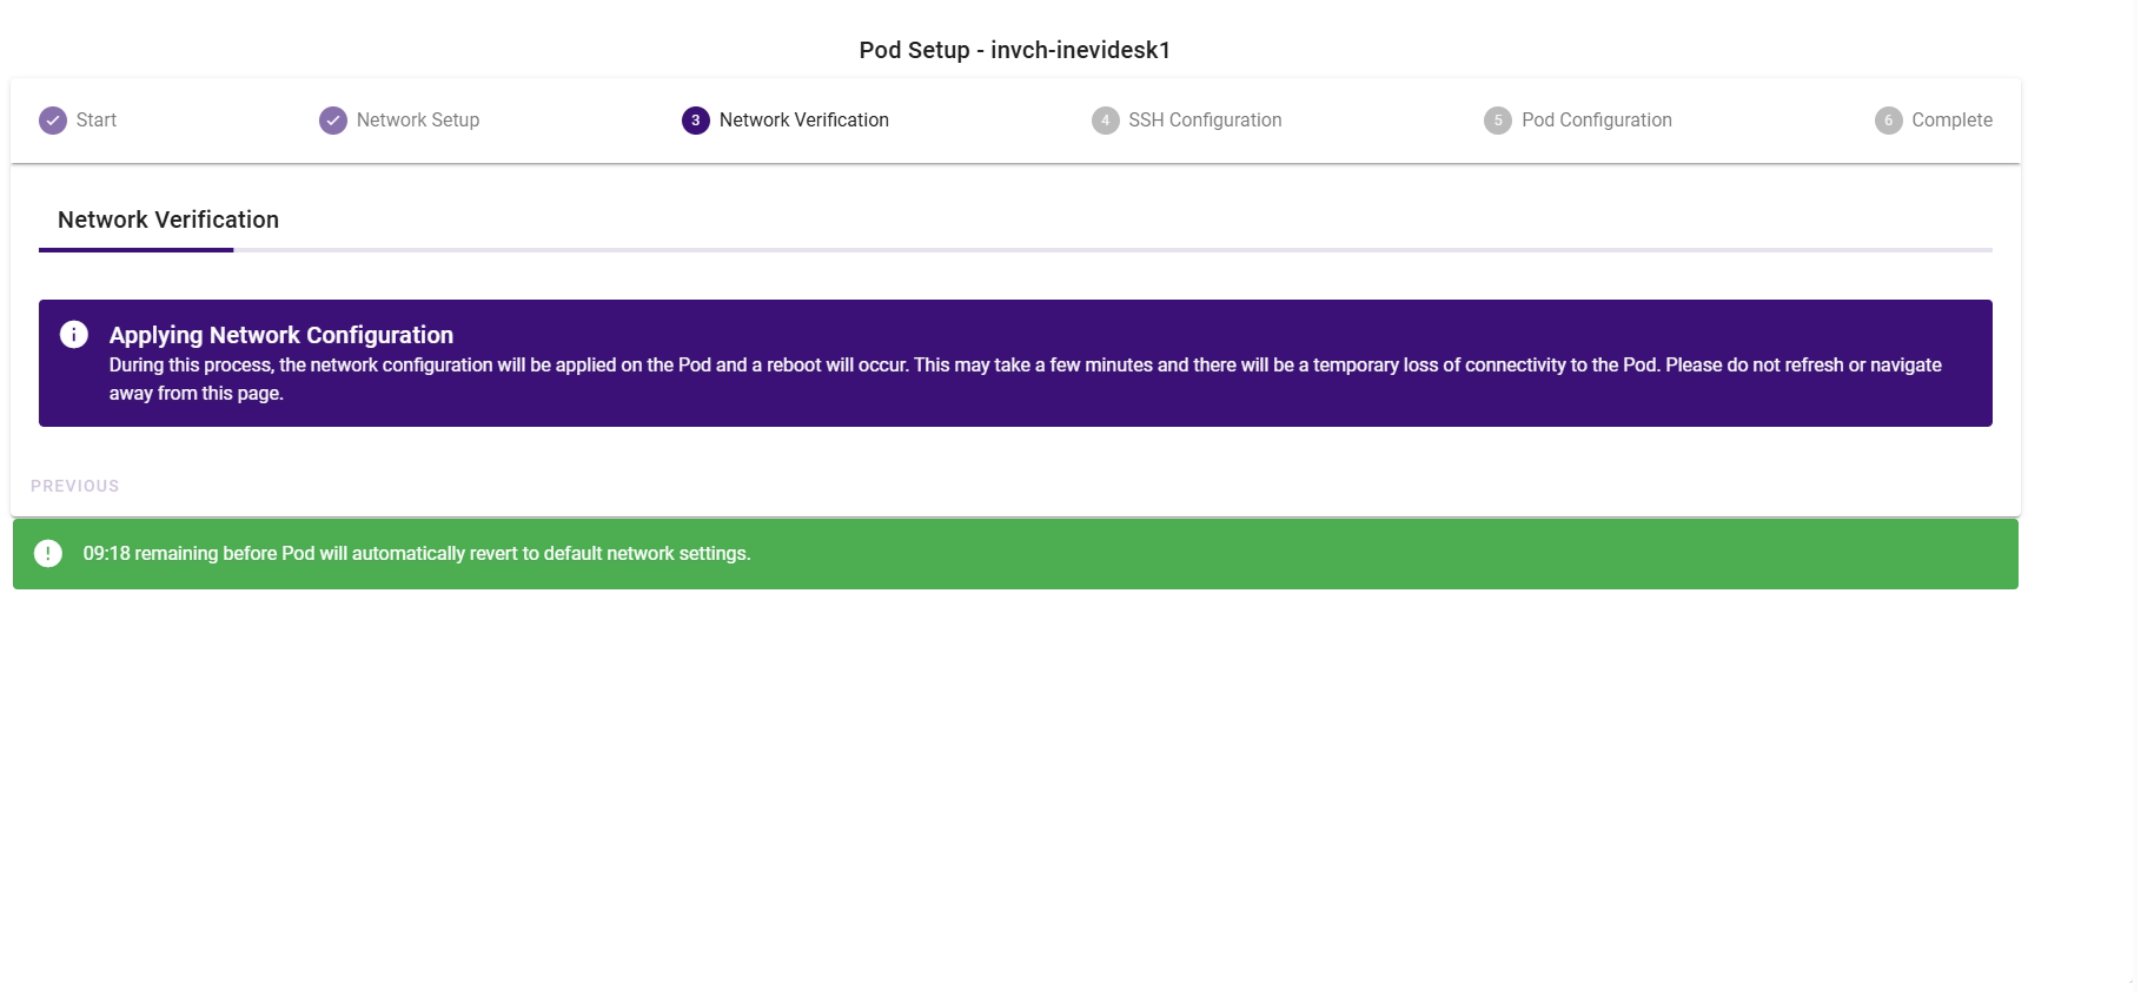
Applying the network settings will take a few minutes. Monitor the progress and do not refresh or navigate away from the webpage.
If you make a mistake with the network settings the pod will automatically reset back to DHCP after 10 minutes.
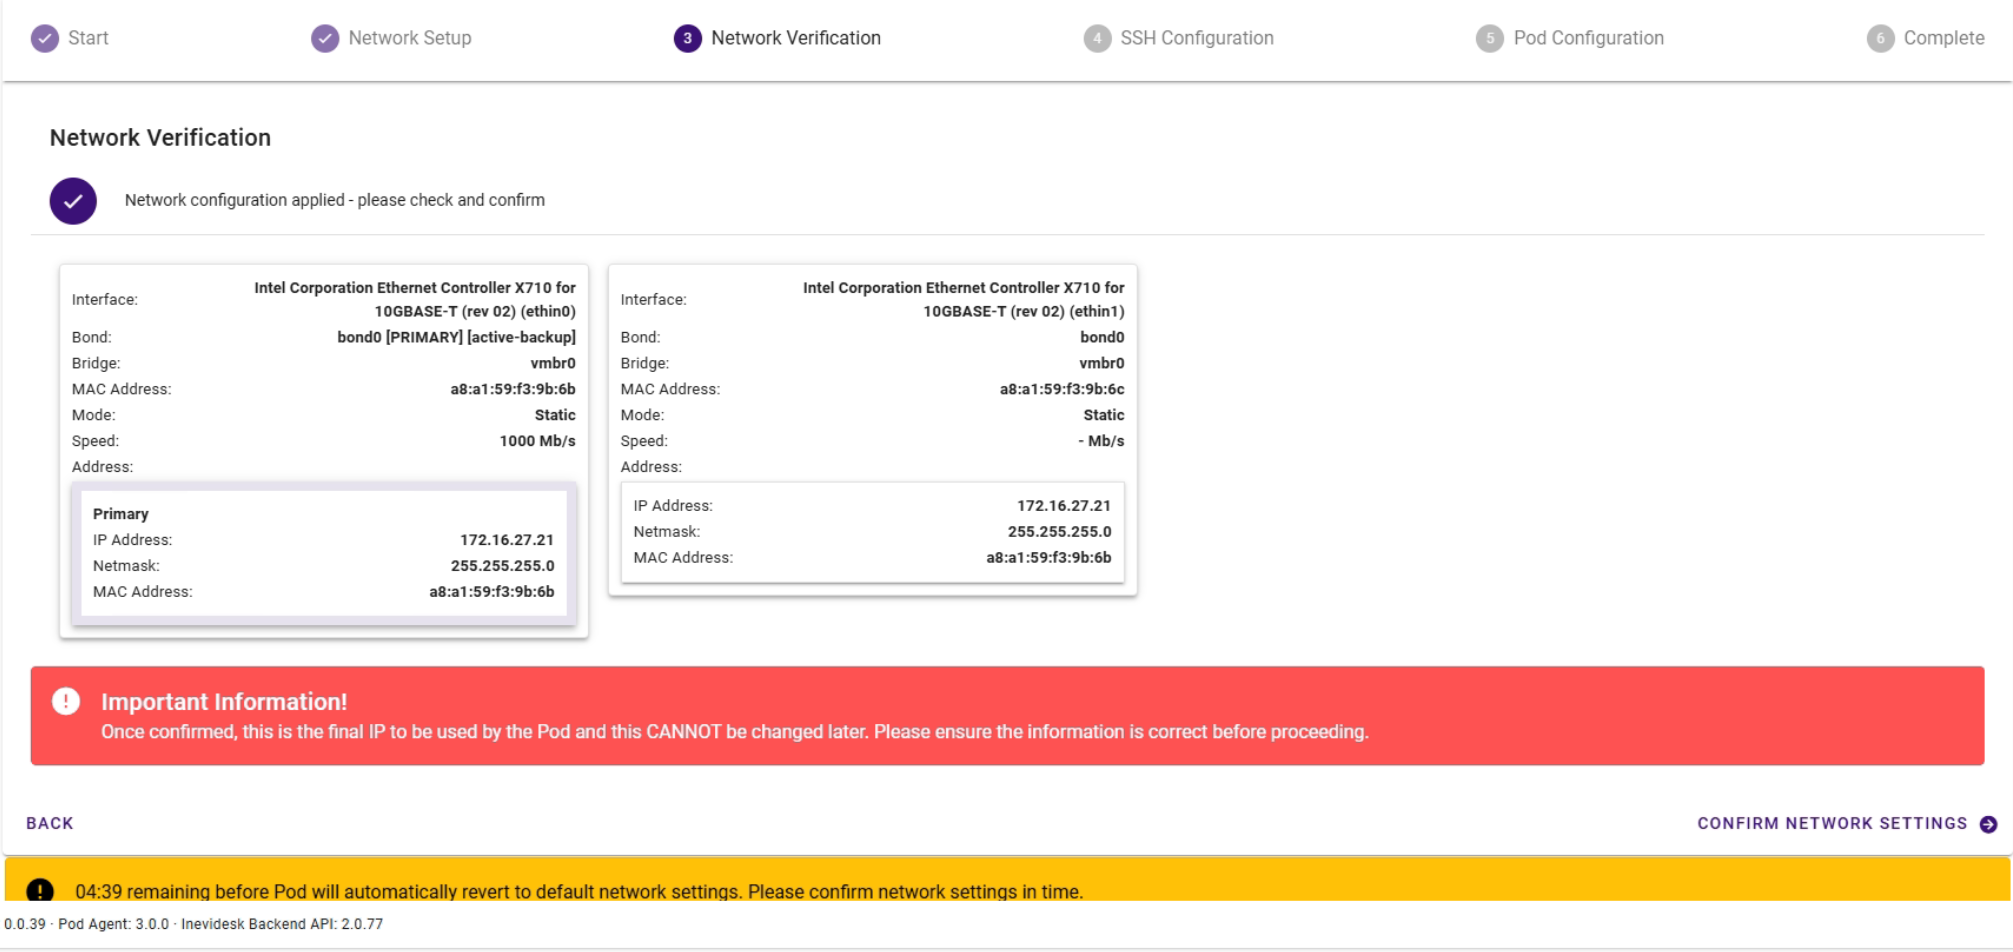
Once the settings have been applied, the wizard will prompt you to confirm the network settings. Click “Confirm Network Settings” to proceed.
If you do not confirm the network settings within 10 minutes the pod will reset back to DHCP.
Storage Settings
Once prompted, select the storage devices and choose the desired level of redundancy for your pod. Please note device and redundancy options will depend on the amount of storage you have purchased with your pod.

Click “Next” to apply the storage configuration once you’ve selected the relevant options.
Note:
If you see a "Read-only storage configuration" message please click "Next" to complete the setup then contact us at support@inevidesk.com to verify the storage settings.
Pod Configuration
The wizard will proceed to finish configuring the pod.

This will take some time to complete. Please do not navigate away or refresh the web page before it completes.

Once this is complete, please email support@inevidesk.com so we can run final checks before you can start using your pod.
Once Inevidesk support confirm your pod is ready it can then be managed via the admin portal.
Feedback and support
We very much welcome feedback at any point. Please let us know if you feel we can improve this guide or if you have any suggestions for future development of the service.
Support is also always available at support@inevidesk.com